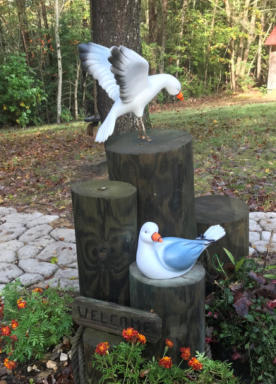

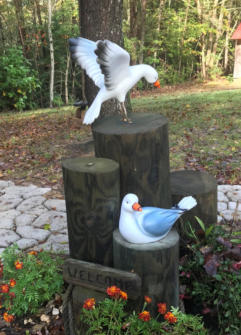
Buy these seagulls for
your piling outdoor
project. Exclusively
made for
Chesapeakecrafts and
not available in stores!
More info
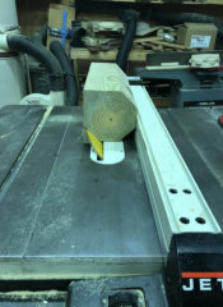
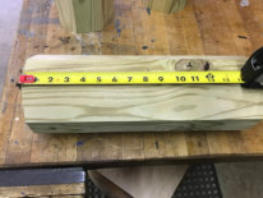
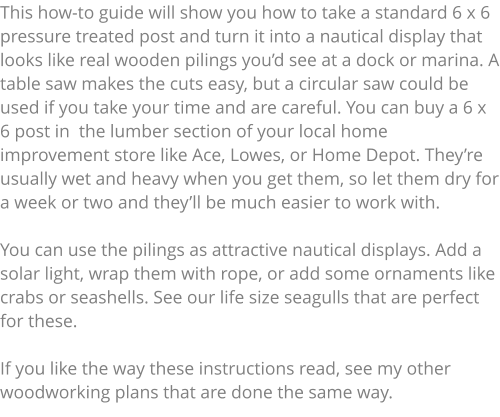
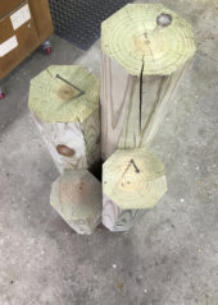
STEP 1:
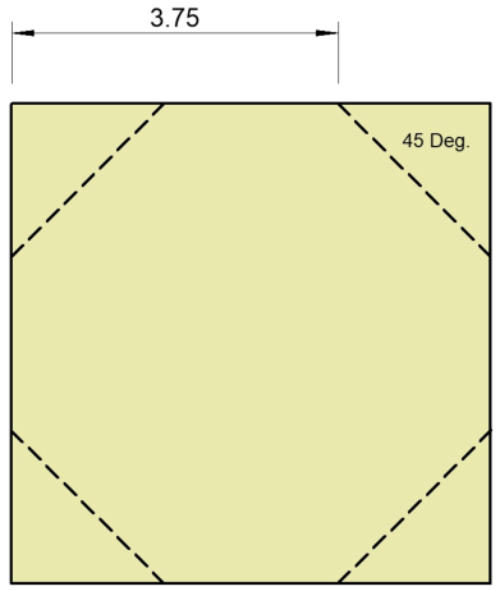
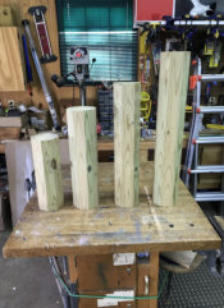
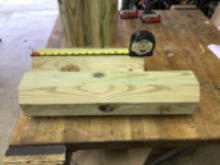
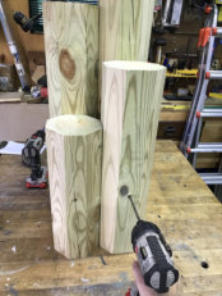
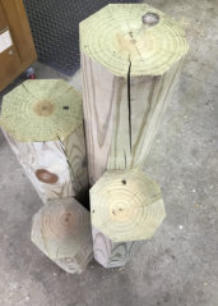
Cut the 6 x 6 into four (4) lengths. These are the
sizes I used, but you can make them taller or
shorter if you’d like.
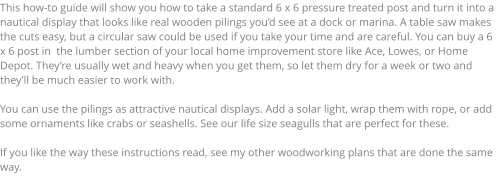
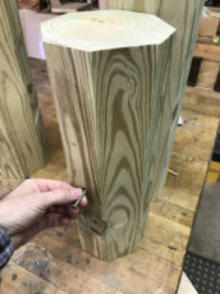
Set your table saw fence at 3 3/4” and cut the
corners off at 45 degrees.


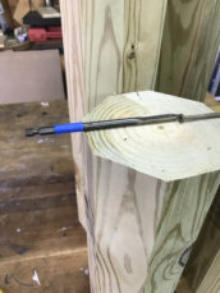
STEP 2:
The pilings will be fastened
together using 3 1/2” decking
screws, but you’ll need to recess
a hole for them first using a 3/8”
spade bit.
Lay the screw on top of a piling
so half of it overhangs. Lay the
drill bit behind it so the tip
touches the head of the screw.
Wrap tape on the drill bit so you
know where to stop when you
drill the hole.

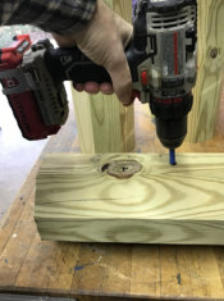
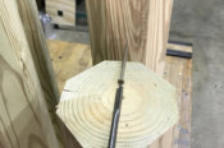
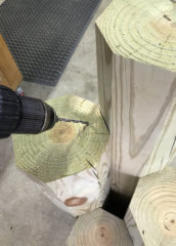
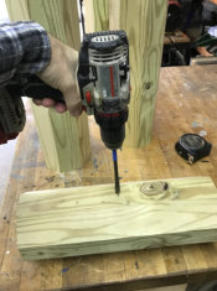
STEP 3:
Measure and mark 8” from the
bottom of two pilings. Drill a hole
using the 3/8” spade bit in each of
the pilings. Stop when you reach
the tape - you don’t want to go all
the way through.

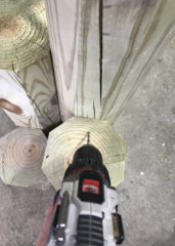
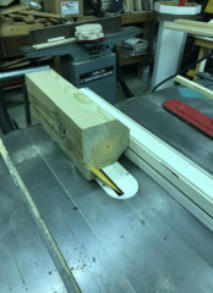
STEP 4:
Insert a 3 ½ x #10 deck screw into the hole and using a long driver fasten the piling to one of the
other pilings that doesn’t have a hole.
Do the same thing for the other two pilings.
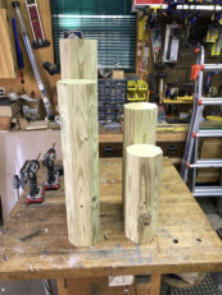
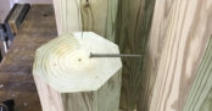
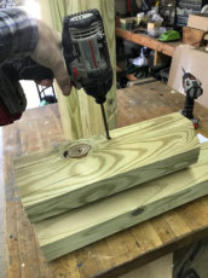
STEP 5:
Mark one of the piling sets at 8
1/2” (both pieces).
Drill out both holes like you did
earlier, using the tape as a stop.
Stand both sets of pilings up against each other and fasten
using 2 (two) 3 1/2” screws.
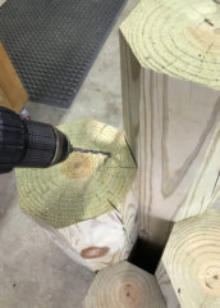
STEP 6:
About an inch back, drill an angled 5/32” hole at the top of the two larger pilings. Only go through
the first piling. Fasten the pilings here using two 3 1/2” deck screws as shown below.


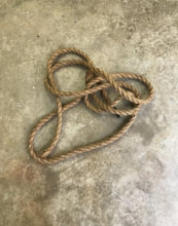
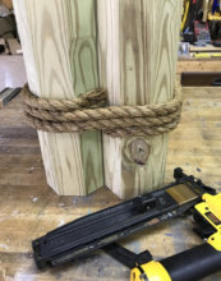
STEP 7: ROPE
You can use any style or
size of rope you think
looks best. I used 3/4”
hemp rope.
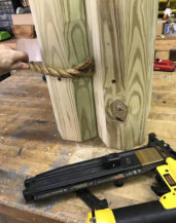
You’ll want your rope to
cover the screw holes
when you wrap it.
Fasten one end to a
piling in an area that
won’t be as visible. You
can use fencing staples
and a hammer. A
pneumatic stapler
made things easy for
me.
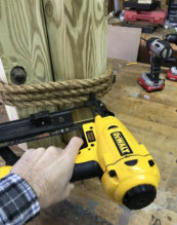
Wrap the rope 3 or 4
times around the
pilings, keeping it tight.
Cut and fasten the rope
near where you started.
Add a few more staples
around the sides.


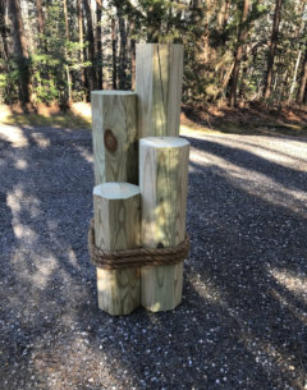
Your pilings are
complete! Allow some
time for the wood to
dry and you can apply
some stain or
weather sealer if
you’d like. You can
also let it weather to a
gray color just like
real pilings.


Contact:
jmarc@chesapeakecrafts.com
HOW TO MAKE WOODEN PILINGS


Buy these seagulls for your piling outdoor project. Exclusively made
for Chesapeakecrafts and not available in stores!
More info
STEP 1:
Cut the 6 x 6 into four (4) lengths. These are the sizes I used,
but you can make them taller or shorter if you’d like.
Set your table saw fence at 3 3/4” and cut the corners off at
45 degrees.


STEP 2:
The pilings will be fastened together using 3 1/2” decking
screws, but you’ll need to recess a hole for them first using a
3/8” spade bit.
Lay the screw on top of a piling so half of it overhangs. Lay
the drill bit behind it so the tip touches the head of the
screw.
Wrap tape on the drill bit so you know where to stop when
you drill the hole.

STEP 3:
Measure and mark 8” from the bottom of two pilings. Drill a
hole using the 3/8” spade bit in each of the pilings. Stop
when you reach the tape - you don’t want to go all the way
through.

STEP 4:
Insert a 3 ½ x #10 deck screw into the hole and using a long
driver fasten the piling to one of the other pilings that
doesn’t have a hole.
Do the same thing for the other two pilings.
STEP 5:
Mark one of the piling sets at 8 1/2” (both pieces).
Drill out both holes like you did earlier, using the tape as a
stop.
Stand both sets of pilings up against each other and fasten
using 2 (two) 3 1/2” screws.
STEP 6:
About an inch back, drill an angled 5/32” hole at the top of
the two larger pilings. Only go through the first piling. Fasten
the pilings here using two 3 1/2” deck screws as shown
below.


STEP 7: ROPE
You can use any style or size of rope you think looks best. I
used 3/4” hemp rope.
You’ll want your rope to cover the screw holes when you
wrap it. Fasten one end to a piling in an area that won’t be as
visible. You can use fencing staples and a hammer. A
pneumatic stapler made things easy for me.
Wrap the rope 3 or 4 times around the pilings, keeping it
tight. Cut and fasten the rope near where you started.
Add a few more staples around the sides.


Your pilings are complete! Allow some time for the wood to
dry and you can apply some stain or weather sealer if you’d
like. You can also let it weather to a gray color just like real
pilings.


Contact:
jmarc@chesapeakecrafts.com
HOW TO MAKE WOODEN PILINGS